Подготовка к установке
Перед тем как приступить к установке инжектора my summer car, необходимо выполнить ряд предварительных шагов:
Скачайте необходимые файлы: сначала вам понадобится скачать сам инжектор мода, а также требуемый мод. Они обычно предоставляются в виде архивов
Обратите внимание на совместимость мода с вашей версией игры.
Распакуйте архивы: после скачивания архивов, распакуйте их в отдельные папки. В результате у вас должны получиться две отдельные папки — одна с инжектором, другая с самим модом.
Сделайте резервную копию файла игры: перед установкой мода, рекомендуется сделать резервную копию файла игры
Для этого просто скопируйте папку с игрой в другое место на вашем компьютере. Это позволит вам вернуться к оригинальной версии игры в случае проблем с модом или неудачной установки.
Запустите инжектор: после распаковки архива с инжектором, запустите его. Обычно, инжектор представляет собой отдельную программу, с помощью которой вы будете устанавливать моды в игру.
Укажите путь к файлу игры: во время первого запуска инжектора, вам может потребоваться указать путь к файлу игры my summer car. Обычно это файл с расширением «.exe», находящийся в папке с игрой.
Готовьтесь к установке мода, выполнив все указанные выше шаги. Только после этого вы сможете перейти к следующему этапу — установке самого мода в игру.
Features
- Creating parts that can be installed on the Satsuma
- Parts can be bolted with customizable screws & nuts
- Ability to implement painting of parts using the existing spray bottles
- Automated saving, no need to deal with NewGame resetting, saving on load, loading the data manually.
- Ability to pack multiple parts into boxes
- Kit box: multiple different parts
-
Box box: multiple of the same part
(for example: spark plugs, they don’t need to be all different)
- Extensive Event system on parts. Allows to listen to different events and execute code when they happen.
- Pre & Post Event X trigger
- Saving
- Install (on parent)
- Uninstall (from parent)
- Bolted (while installed on parent)
- Unbolted (while installed on parent)
- InstallOnCar (part or it’s parent (or the parent of that …) get’s put on the car (SATSUMA))
- UninstallFromCar
- BoltedOnCar
- UnboltedOnCar
- Event system for activating Behaviour ‘Code running on the side’ depending on an event. Disabling the
behaviour when the opposite event is occurs.
- Pre & Post Event X trigger
- Shop system.
- Add Shops to a global Shop all mods can use.
- Define a custom price
- Add images
- Add boxes of parts (Kit & Box) (one price for all)
- Two shops exist on the map. One at Fleetari and one at Teimo
- Customizable spawn location for ShopItems. With some «easy to use» predefined.
- Several C# Extension methods.
- Helper utility
- Some examples:
- FindFsmOnGameObject
- CombinePaths
- LoadAssetBundle
- CheckCloseToPosition
- Some examples:
- Logging for each individual mod, containing general game information (installed mods, versions, ….)
- UserInteraction utility: showing messages to the used, check if playes is looking at an object, detect interactions
Important info about Features
Interpret this list as a «Showcase»,
exact information of each individual feature and how to use, what they do, …
should be researched in the actual Documentation.
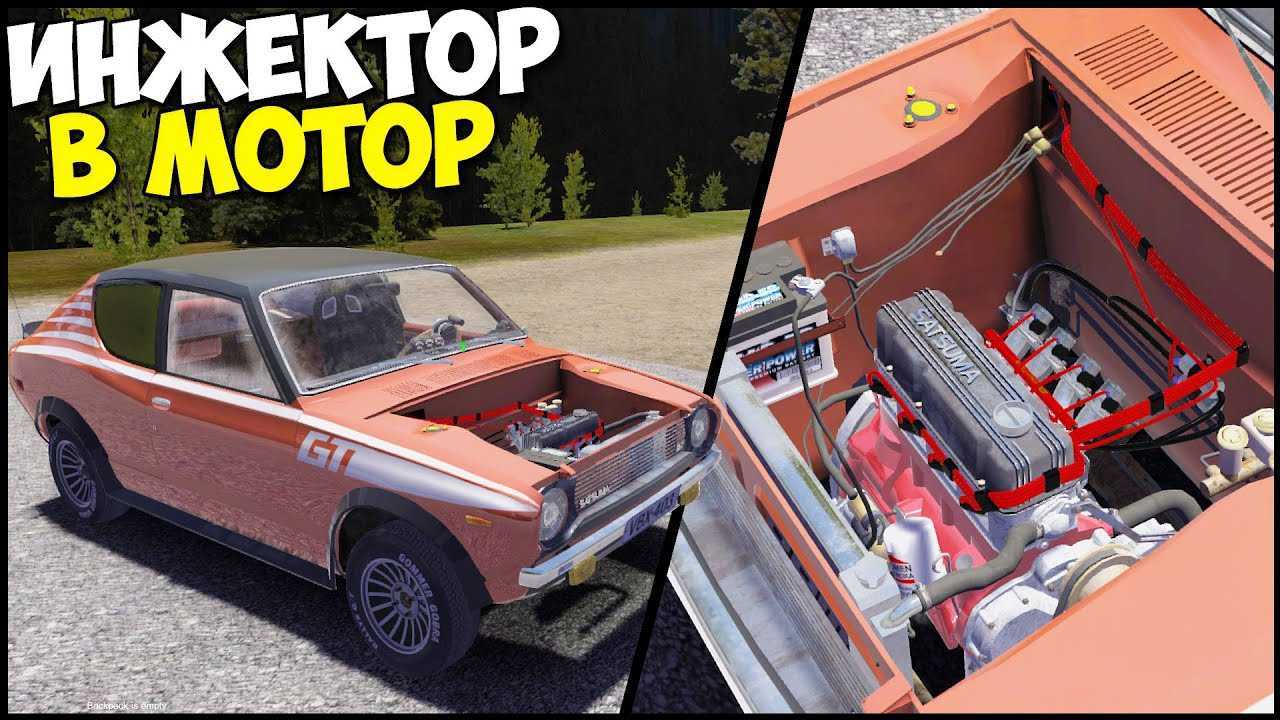
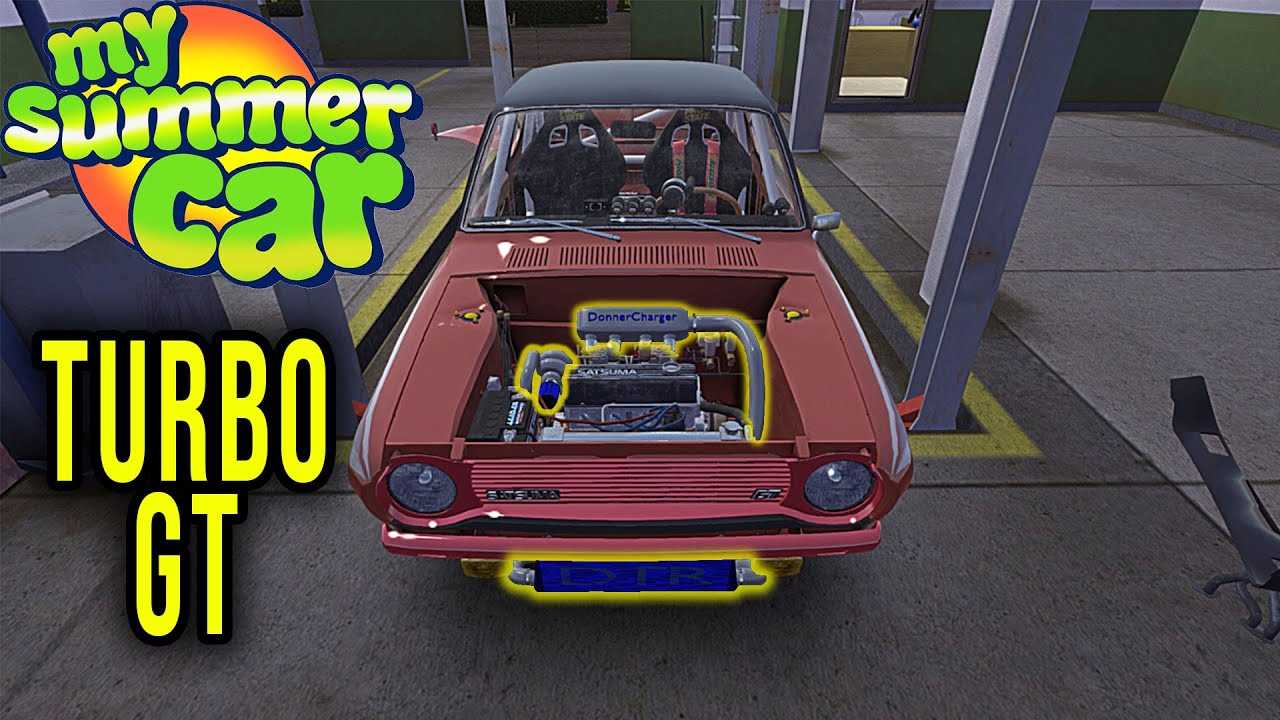
Мод Электронные Блоки Управления (DonnerTechRacing ECUs)
ЭТОТ МОД НЕ БУДЕТ РАБОТАТЬ, ЕСЛИ ИГРА — ПИРАТСКАЯ .
Teimo только что получил новую и свежую поставку от немецкого производителя деталей для тюнинга.
Отныне магазин Teimo’s Shop будет продавать вам несколько потрясающих ЭБУ, сделанных компанией DonnerTech Racing.ABS, ESP и TCS — последние модули для Satsuma, разработанные, запрограммированные и изготовленные в Германии.————————————
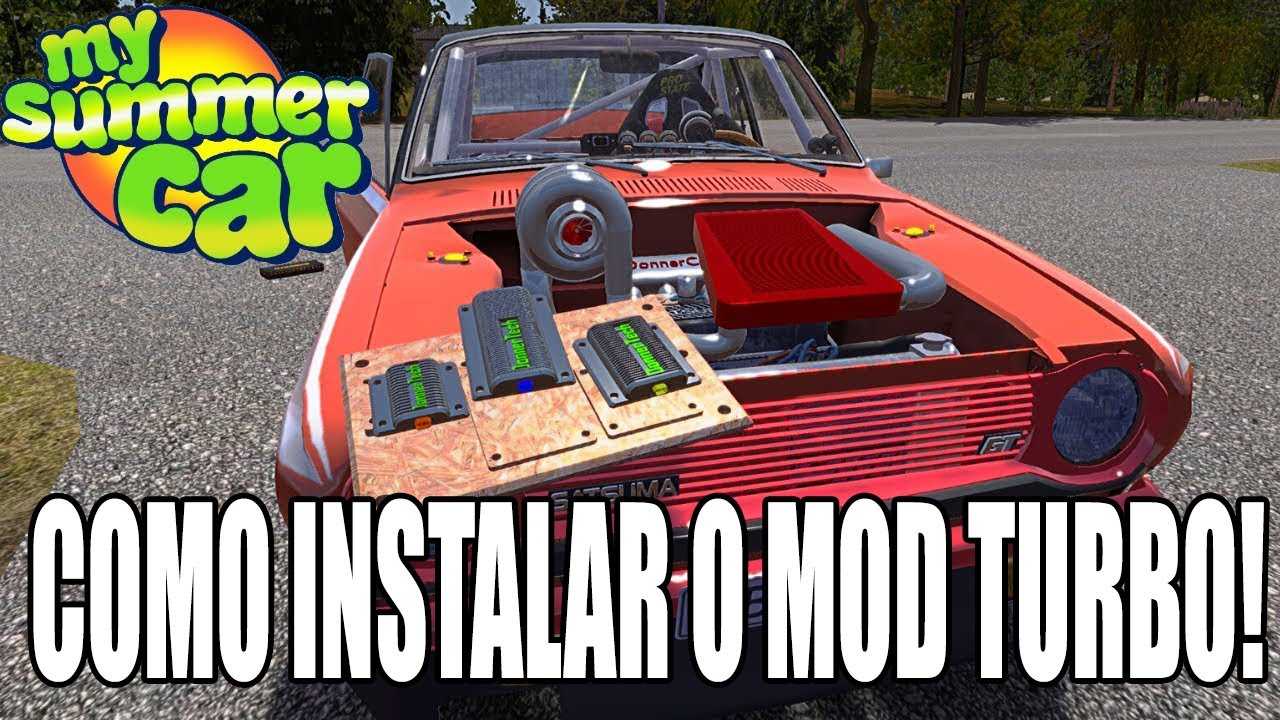
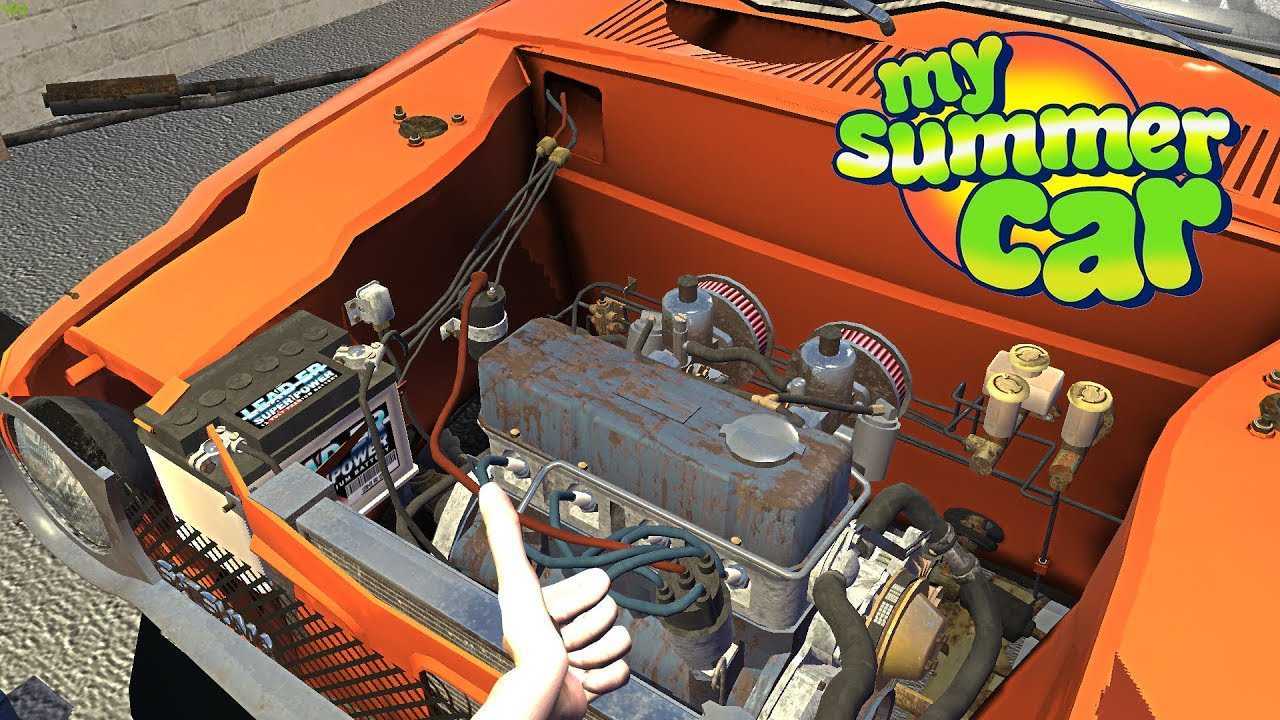
Этот мод добавляет несколько моделей, которые позволят современные функции на вашем Сацума.Модуль АБСМодуль ESPМодуль TCSЖгутМонтажная пластинаПанель управления с подсветкой
Запчасти можно купить в магазине ТеймоЦены:ABS: 800ESP: 1200TCS: 1800Кабельный жгут: 300Монтажная плата: 100Панель управления: 300
* Некоторые части (более крупные) появляются вне магазина, где появляются пакеты
Монтажная плата монтируется под пассажирским сиденьем, а затем модули и жгут проводов идут сверху.Панель управления установлена на правой стороне откидного капота.Кнопки можно нажимать, нацеливаясь на кнопки и нажимая клавишу «USE»который затем включит функцию
MSC MOD LOADER — >>скачать<<
-
Можно ли пользоваться социальной транспортной картой в другом городе
-
Как играть в ведьмак 3 онлайн
-
Сколько жал у мантикоры в ведьмаке
-
Как поставить номерной знак на машину в кар механик симулятор 2018
- Как стрелять в resident evil 3 nemesis
Facts about the best mods for MSC:
- My Summer Car is an open-world survival game where the player’s main goal is to fix up their father’s dismantled car.
- The game can be improved through the use of mods, which can enhance gameplay, add new features, and improve the visual experience.
- The Modern Optimization Plugin is a mod that can double the frame rate while playing the game, improving its visual experience.
- Show Bolt Sizes v2 is a mod that makes it easier to rebuild the car by letting the player know if the bolts they have are too big, too small, or just the right fit.
- Fast Travel is a mod that allows the player to quickly travel around the Finnish countryside in the game, even if they are on foot.
- Glowing Light Switch Markers is a mod that helps the player easily find light switches in dark rooms, making it easier to navigate in the game.
- Сlosing Pits Panel is a mod that allows the player to quickly open and close the pit with a simple switch of a button next to the garage door.
- Actually Useful Sledgehammer is a mod that makes the sledgehammer useful for removing dents from the car’s exterior.
- Carry More is a mod that allows the player to carry as many items as they want, making grocery shopping and other tasks easier.
- Delivery Jobs is a mod that generates delivery jobs for the player to accomplish for money.
- Roof Rack is a mod that adds additional storage to the car, making it easier to transport items.
- Hayosiko 4×4 is a mod that adds 4-wheel-drive to the Uncle’s Hayosiko van, making it easier to navigate rougher roads.
- VHS Player is a mod that allows the player to add customizable videos to the game, which can be played on a VHS player in-game.
- Cassette Tapes is a mod that allows the player to add custom music to the game, which can be played on the radio system in the player’s house.
- Car Aerial is a mod that allows the player to place a new antenna on the car, giving better radio reception.
- Call Your Cousin is a mod that allows the player to call Peni to pick them up if they are stranded without a car.
- Radio for the Fittan is a mod that adds a radio to Peni’s car, providing a little something to break the silence during long drives.
- MSC Birthday Trophy is a mod that adds a commemorative beer bottle trophy to the bookcase display in the player’s house.
- Starter Pack is a mod that makes the player’s car look new and includes custom parts like a new engine, subframe, pedals, and subwoofers.
- Rally Spotlights is a mod that gives the player access to wide-beam spotlights in the game that can be painted to customize their appearance.
- Frito Stunt Ramp is a mod that adds six placeable stunt ramps into the game, allowing the player to set up crazy jumps.
- Nicotine Gum is a mod that lowers the player’s stress levels, making it an alternative to smoking cigarettes or drinking alcohol in the game.
Установка инжектора
Для установки инжектора my summer car следуйте следующей пошаговой инструкции:
- Скачайте инжектор с официального сайта или проверенного источника.
- Распакуйте скачанный архив с инжектором в удобное для вас место на компьютере.
- Запустите игру My Summer Car.
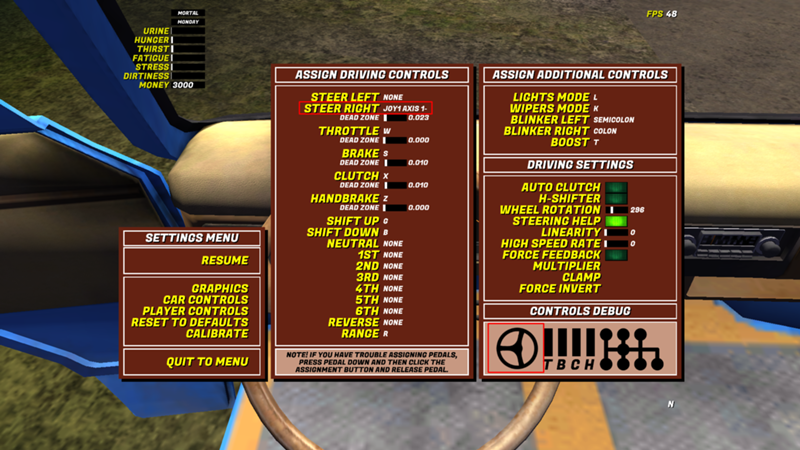
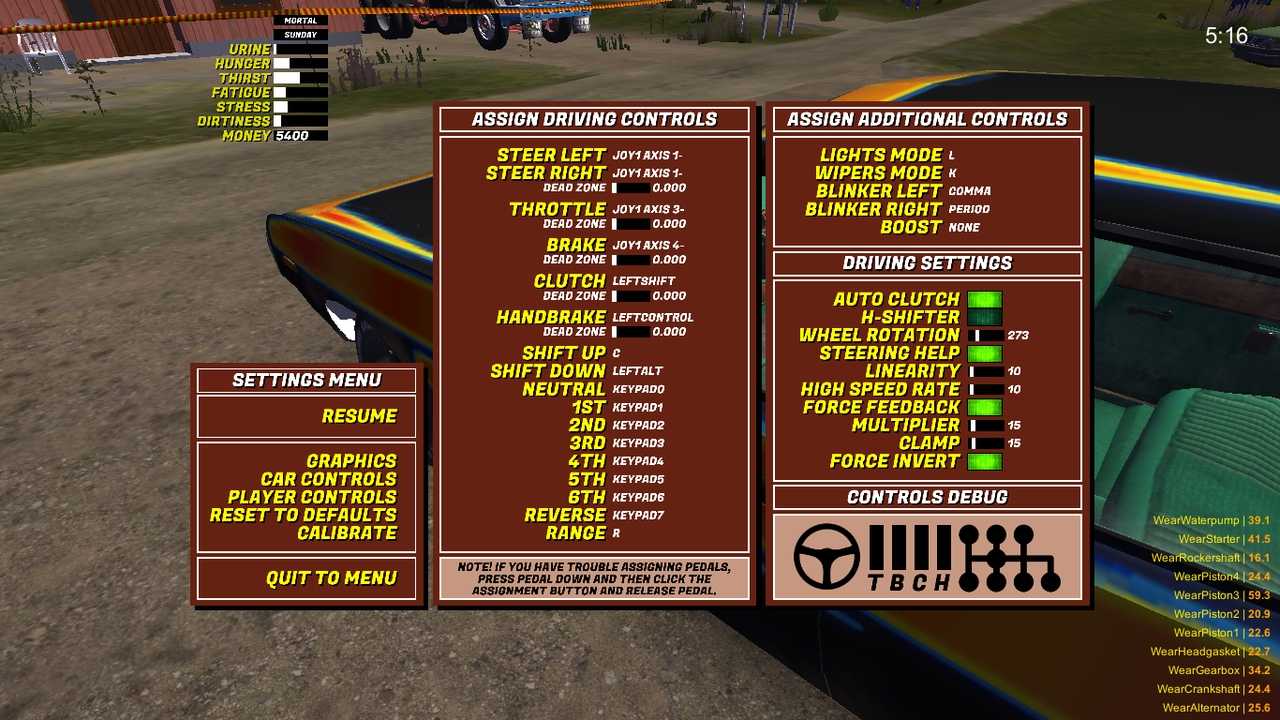
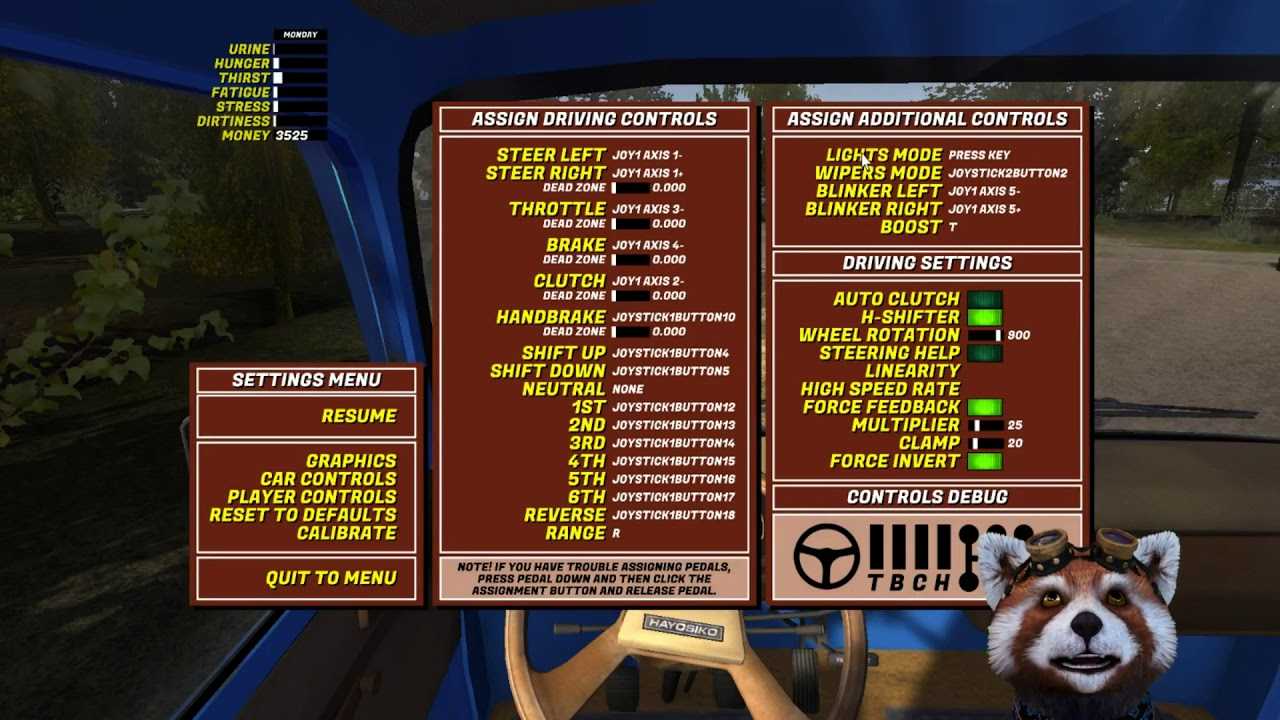
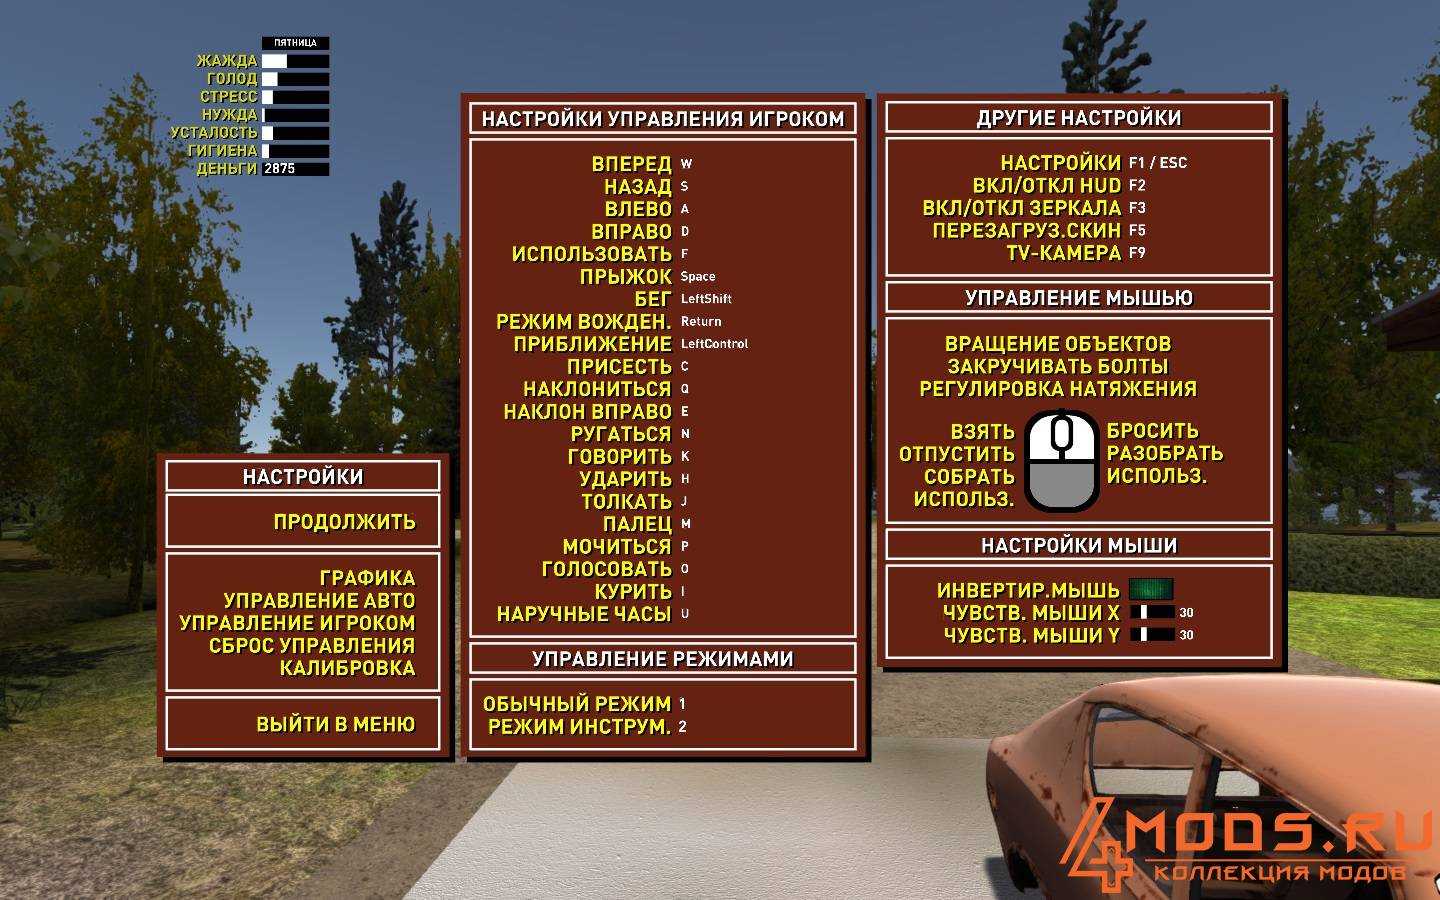
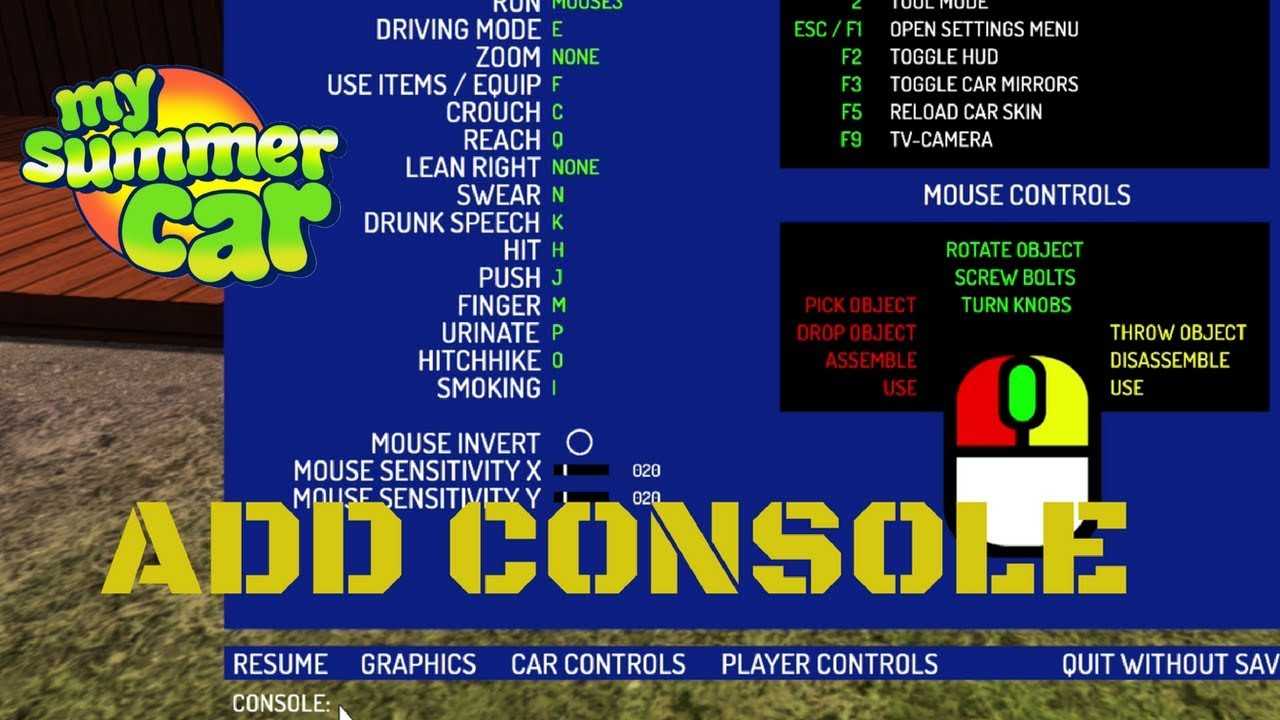
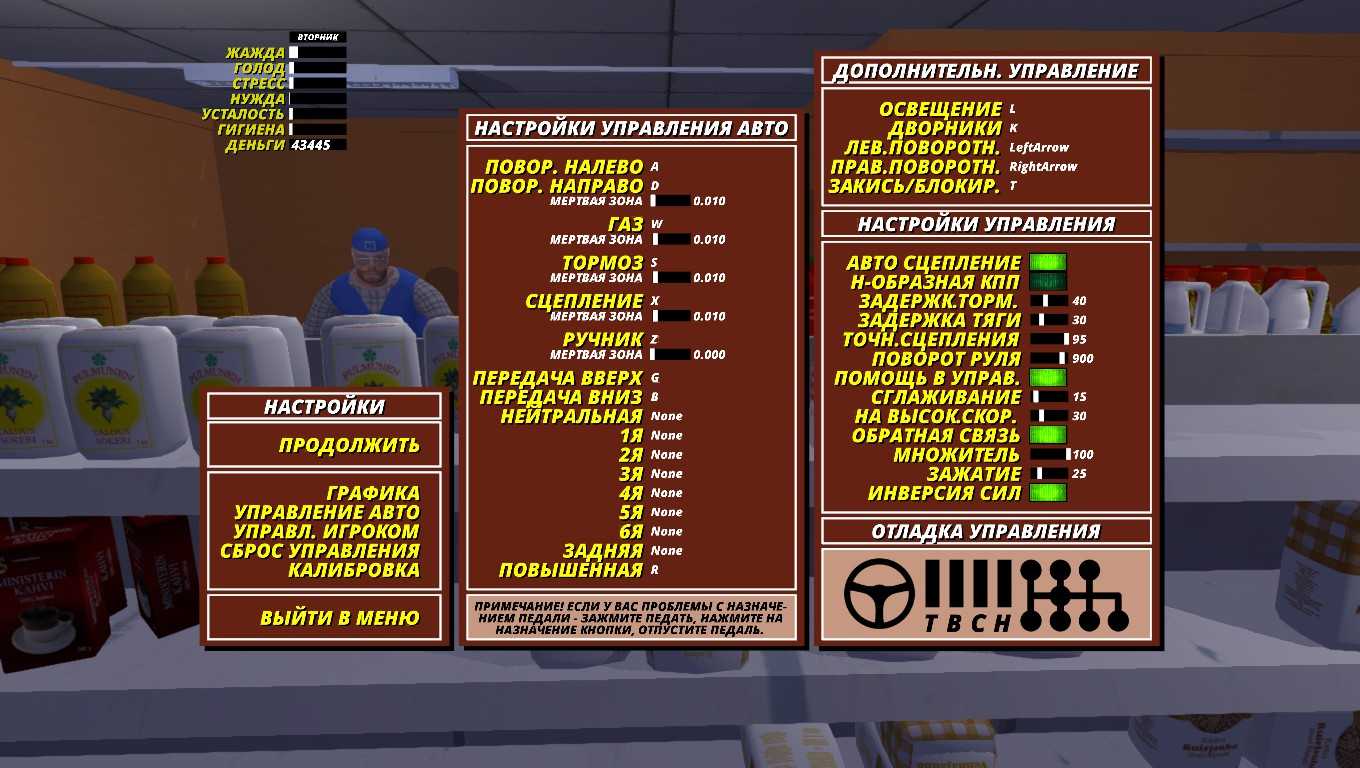
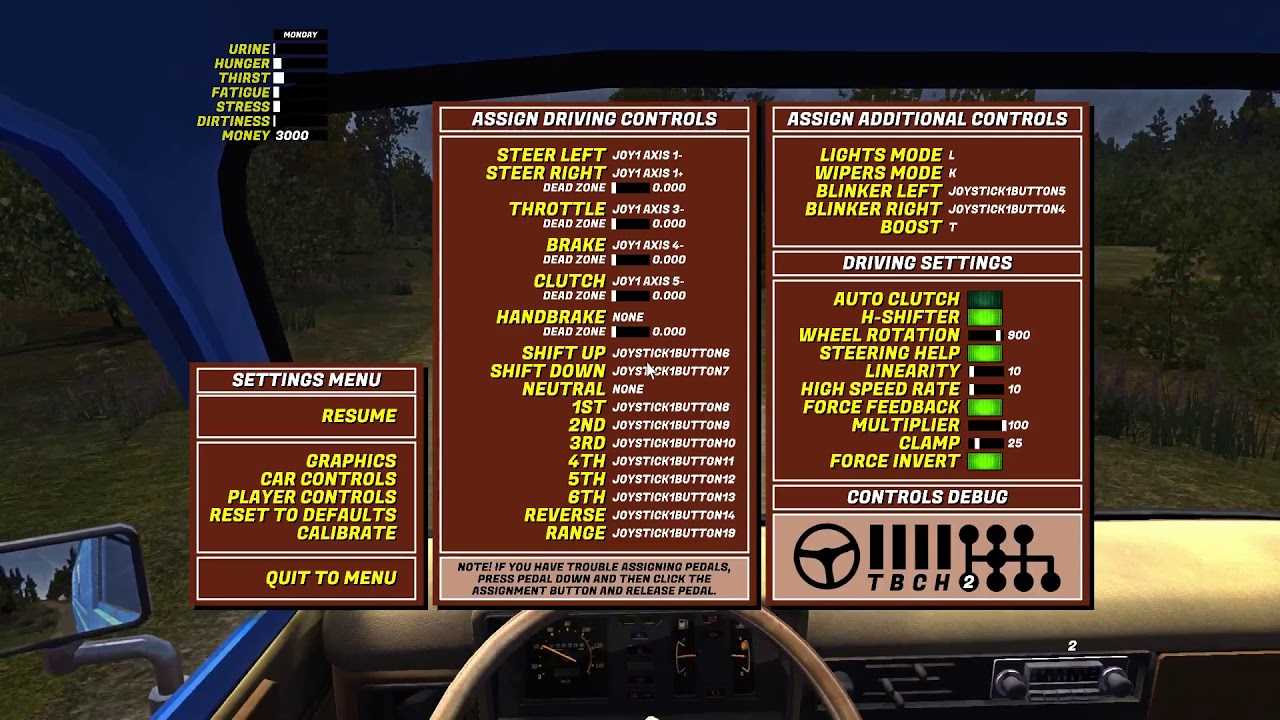
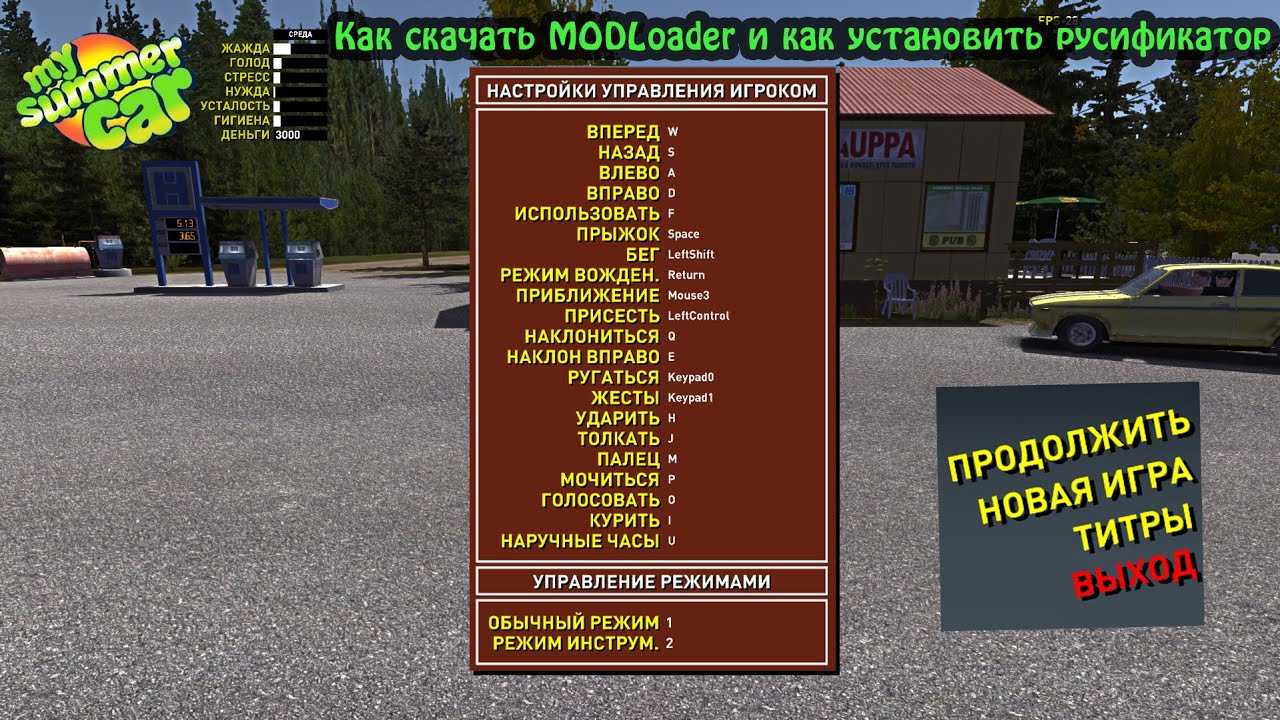
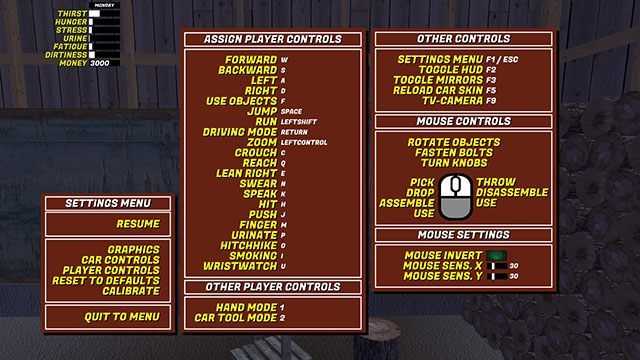
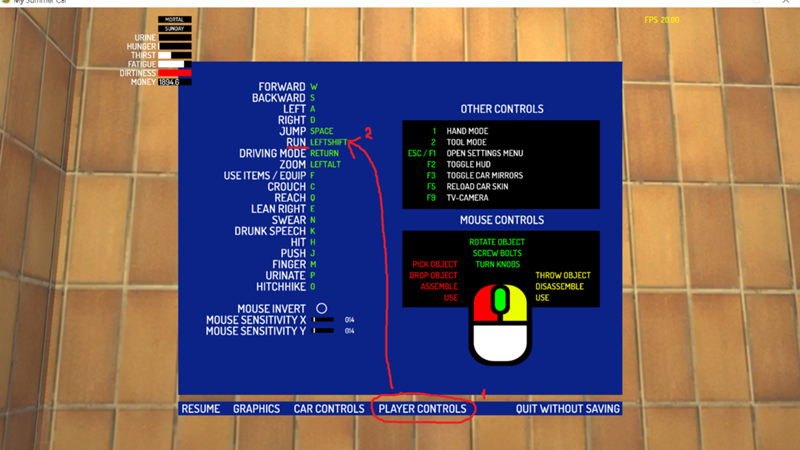
- В главном меню игры откройте настройки и найдите раздел «Управление».
- В настройках управления найдите опцию «Введите клавишу для вызова меню модификаций» и назначьте желаемую клавишу для вызова меню модификаций.
- Сохраните изменения в настройках.
- Вернитесь в игру и возьмите с собой автомобильный ключ, который находится на столе в доме игрового персонажа.
- Видите в игре клавишей, которую вы назначили в настройках, чтобы вызвать меню модификаций.
- В меню модификаций найдите опцию «Установить мод» и выберите желаемый мод для установки.
- Подтвердите установку мода и ожидайте завершения процесса.
- Перезапустите игру My Summer Car, чтобы применить установленный мод.
Поздравляю, вы успешно установили инжектор и смогли установить мод для игры My Summer Car! Теперь вы можете наслаждаться новым контентом и функциональностью в игре.
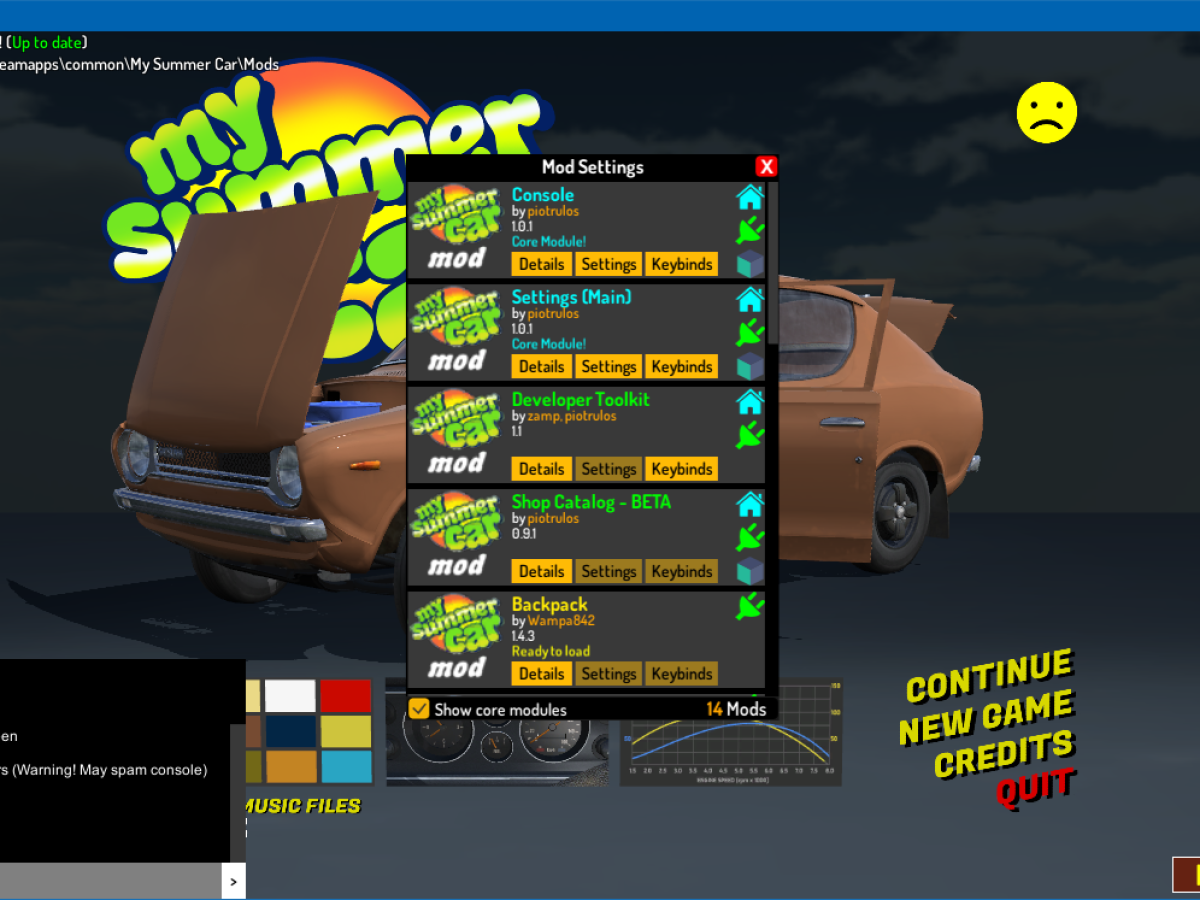
MSC Mod Loader
![[plugin] cheatbox ~ my summer car mods](https://edem-trailer.ru/wp-content/uploads/0/a/9/0a9c18beb57f0a8daf670dba14297d1f.jpeg)
![[plugin] cheatbox ~ my summer car mods](https://edem-trailer.ru/wp-content/uploads/d/1/3/d13130aab4b126c5c7968fbb7d5927af.jpeg)
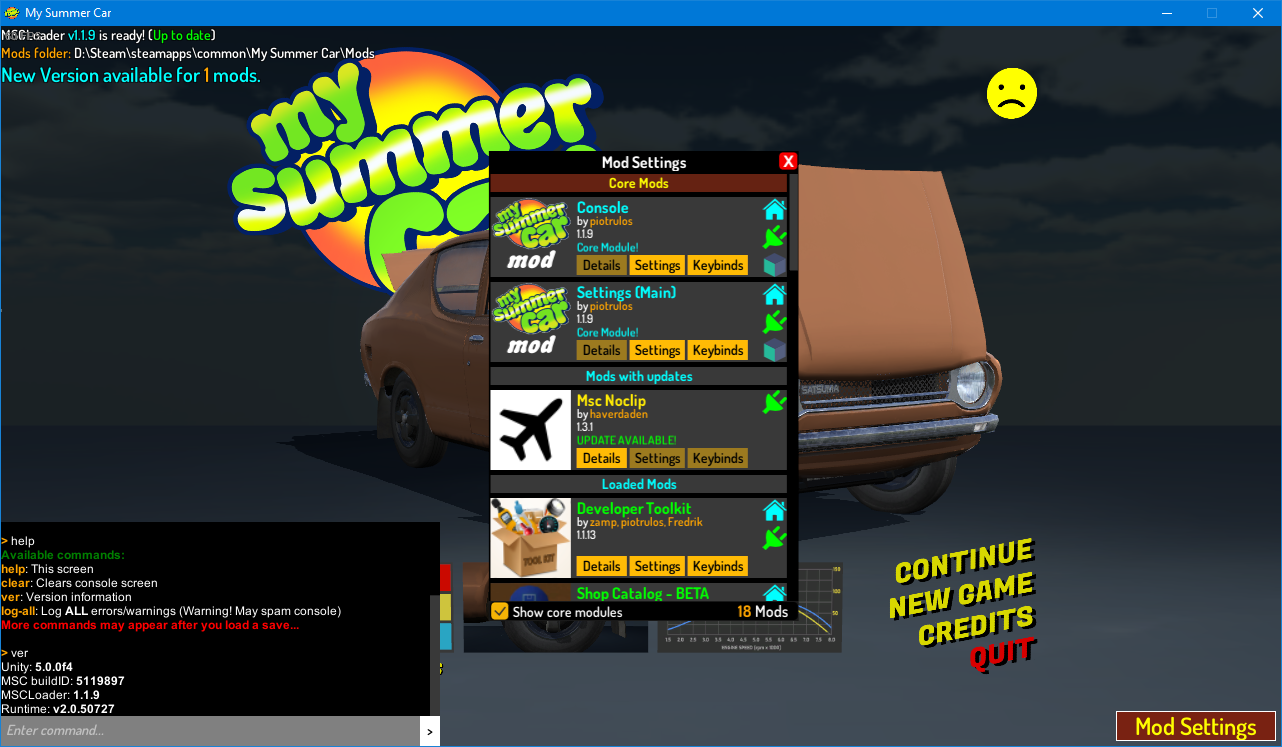
As I said, you’ll need this mod as most other mods require it, so you might as well download it right now before we get to the really fun stuff.
Before that, here’s a quick explainer on how to install and run mods in My Summer Car…
1. Getting Started with Installing Mods
My Summer Car is a popular game among car enthusiasts. The game allows players to build, fix, and tune up their own car from scratch. However, it’s the game mods that truly enhance the playing experience. Mods can bring in new features, fix bugs, or simply make the game more entertaining.
Before we dive into the installation process, it is important to ensure that you have the latest version of the game. Keeping your game updated will minimize the chances of running into compatibility issues with mods.
2. Downloading Mods
The first step to install mods is to find and download them. There are several websites where you can find My Summer Car mods, such as NexusMods or ModDB. Make sure to read the description and reviews of the mod to ensure it is compatible with your version of the game and doesn’t have any known issues. Additionally, always download mods from trusted sources to avoid malicious software.
3. Extracting the Mod Files
Once you have downloaded the mod, you will usually find it in a compressed file format such as .zip or .rar. You will need to extract these files to install the mod. Most computers have built-in software to handle this, but if not, you can use a program like 7-Zip or WinRAR. Extract the files to a temporary location, like your desktop.
4. Backup Your Game Files
Before you start installing mods, it’s a good idea to back up your game files. This way, if something goes wrong, you can restore the game to its original state. Locate the game files on your computer, usually found in the Steam folder, and create a copy of the entire folder.
5. Installing the Mods
There are two main ways to install mods in My Summer Car: manually or using a mod loader. Most mods will come with instructions on how to install them, so it’s important to read the provided documentation.
Manual Installation
Manual installation involves copying the mod files into the appropriate game folders. Most mods will be installed in the ‘Mods’ folder, located within the game directory. However, some mods may need to be placed in other folders, so always check the installation instructions that come with the mod.
Using a Mod Loader
A mod loader is a tool that simplifies the installation process. One popular mod loader for My Summer Car is the MSC Mod Loader. This tool not only makes it easier to install mods, but it also helps manage them. To use MSC Mod Loader, you need to download and install the tool, then simply drag and drop the mod files into the mod loader.
6. Running the Game with Mods
After you have installed the mods, it’s time to start the game. If you used a mod loader, make sure to start the game through the mod loader. Otherwise, start the game as you normally would. It’s always a good idea to start a new game when playing with mods to avoid any potential conflicts with your existing save files.
![Top 20 best my summer car mods [2023]](https://edem-trailer.ru/wp-content/uploads/a/d/8/ad85682edde93c97c1912c9a071d0819.jpeg)
![Top 20 best my summer car mods [2023]](https://edem-trailer.ru/wp-content/uploads/c/0/f/c0f79115630553759304e24f58020b6d.jpeg)
![Top 20 best my summer car mods [2023]](https://edem-trailer.ru/wp-content/uploads/2/1/3/21367cbac1039011a39afcc87c0f341a.jpeg)
7. Troubleshooting
Sometimes, you may run into issues when installing or running mods. Here are a few common problems and solutions:
Game Crashes
If the game crashes after installing a mod, it’s possible there is a conflict with another mod or the game itself. Try uninstalling the mods one by one to identify the culprit. Once you have found the problematic mod, check online to see if there is a fix or update available.
Mod Doesn’t Work
If the mod doesn’t work as expected, double-check that you installed it correctly. Make sure the files are in the right folders and that you follow the installation instructions. If everything seems correct, check online to see if there are any known issues with the mod or if there is an updated version available.
Modding My Summer Car can greatly enhance your gaming experience. However, it’s important to be careful when installing and managing mods to avoid any potential issues. Always back up your game files, follow the installation instructions, and download mods from trusted sources. With a little bit of caution and preparation, you can enjoy a customized My Summer Car experience.
Шаг 4: Настройка параметров в инжекторе
1. Загрузка файла конфигурации
Для начала настройки инжектора необходимо загрузить файл конфигурации. Для этого нажмите на кнопку «Load config» и укажите путь к файлу, который вы скачали ранее.
Примечание: обычно файл конфигурации имеет расширение .ini
2. Выбор версии игры
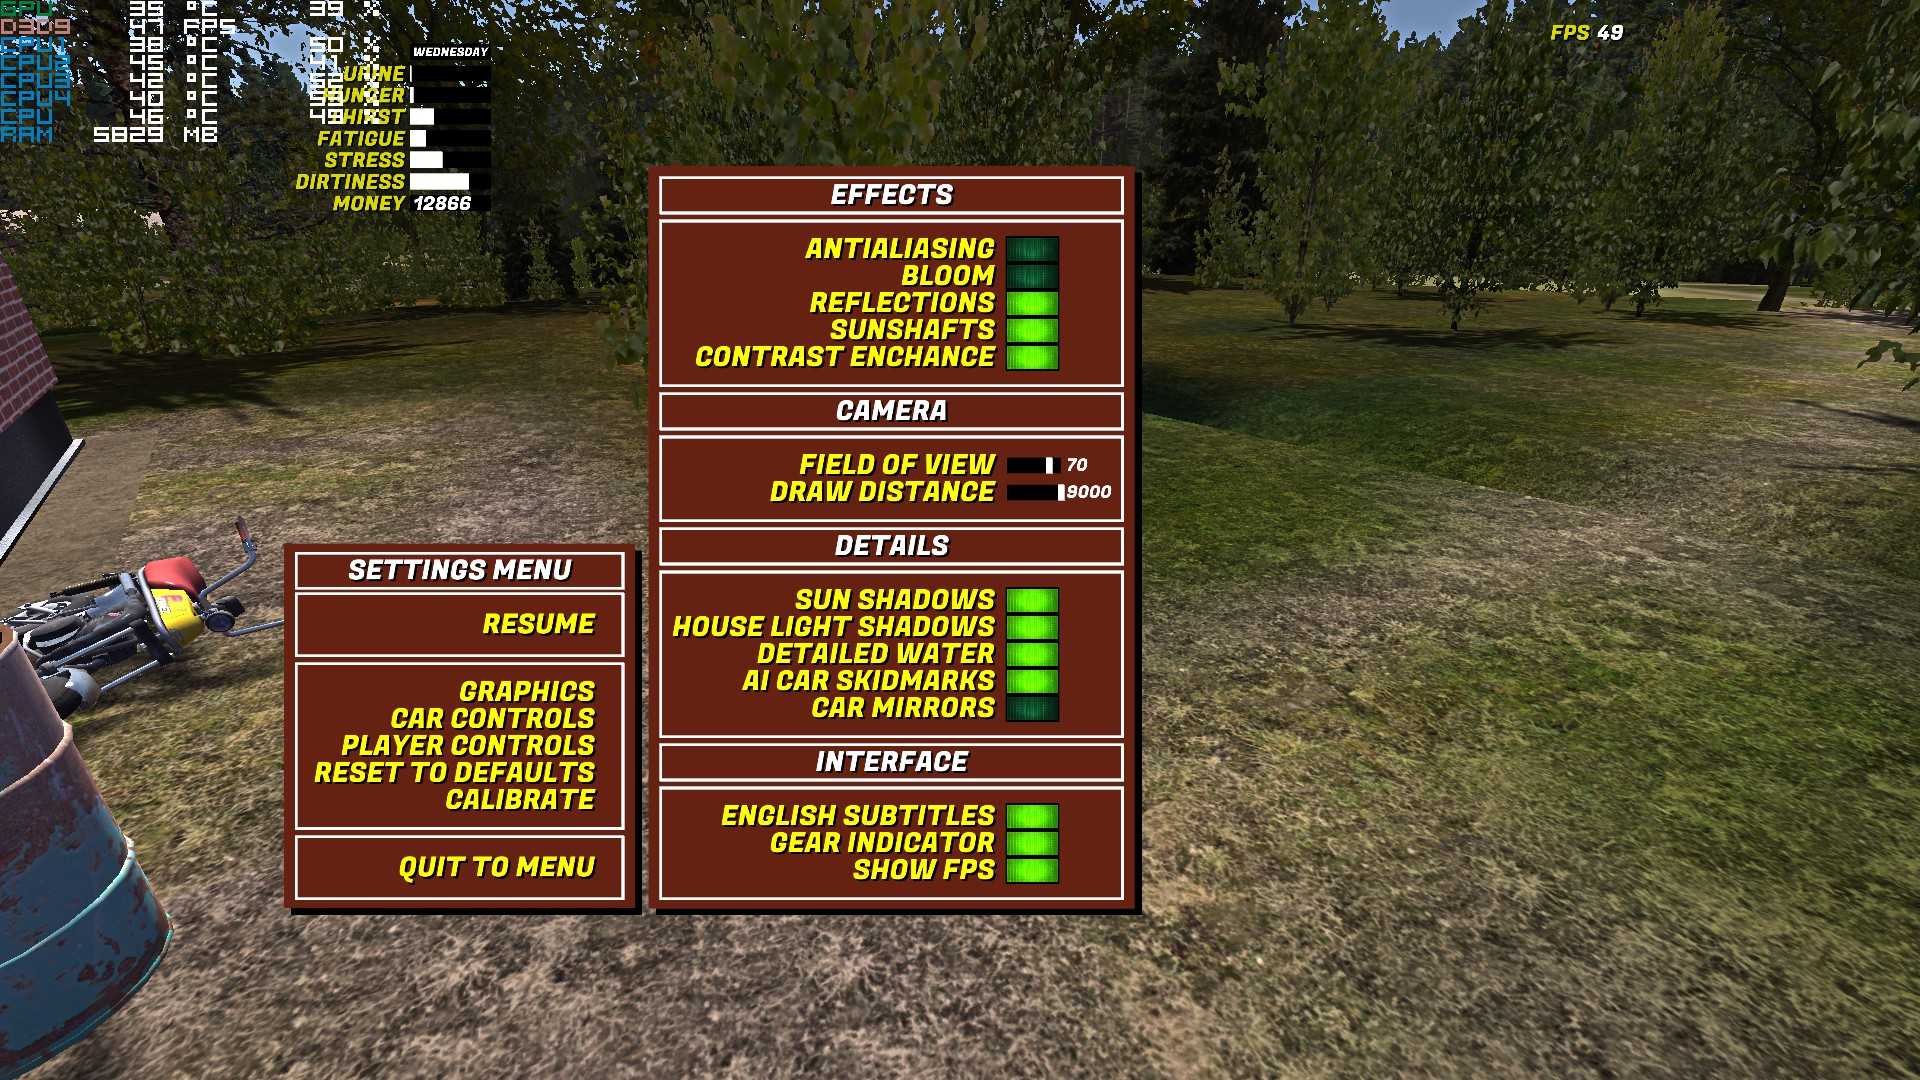
После загрузки файла конфигурации выберите версию игры, для которой вы устанавливаете инжектор. Если вы не знаете, какую версию игры у вас установлена, можно проверить ее в настройках игры.
3. Настройка параметров
Далее можно настроить нужные параметры. Например, можно выбрать, какой язык использовать в игре или изменить управление. Также можно включить различные читы.
- Включение читов — для этого нужно поставить галочку напротив нужного чита в списке
- Изменение управления — можно настроить управление на свой вкус. Для этого выберите нужную команду и нажмите на нее. Далее нажмите на кнопку, которую вы хотите использовать для выполнения этой команды
- Язык игры — можно выбрать язык игры в выпадающем списке. Доступны различные языки, включая русский
4. Сохранение параметров и запуск игры
После того как вы настроили все нужные параметры, не забудьте сохранить их, нажав на кнопку «Save». После этого можно запустить игру, нажав на кнопку «Launch game». Игра будет запущена с настроенными параметрами и включенными читами, если вы их выбрали.
Установка модов
Установка модов — это процесс добавления дополнительного контента или изменения игрового опыта в игре My Summer Car. Вот пошаговая инструкция о том, как установить моды:
- Найдите мод, который вы хотите установить. Это может быть сайт моддинга, форум или веб-страница с модами для игры.
- Скачайте мод на свой компьютер. Обычно моды загружаются в виде архива (.zip или .rar файл).
- Распакуйте скачанный архив с модом. Для этого вам может понадобиться программа для архивации, такая как WinRAR или 7-Zip.
- Откройте папку игры My Summer Car. Обычно она находится в папке «Steam\steamapps\common\My Summer Car».
- Найдите папку «Mods» внутри папки игры. Если вы не видите папку «Mods», создайте ее самостоятельно.
- Переместите распакованные файлы мода в папку «Mods».
- Запустите игру My Summer Car и выберите опцию «Mods» в главном меню.
- Включите или выключите установленный мод, щелкнув по его названию.
- Нажмите кнопку «Применить изменения» или перезапустите игру для активации установленного мода.
Теперь у вас должен быть установлен и работающий мод в игре My Summer Car
Обратите внимание, что некоторые моды могут быть несовместимы с другими модами или с последней версией игры, поэтому читайте описание мода и следуйте инструкциям от его создателей
Installation
Users
- Open the GitHub releases page
- Download the .zip file under Assets
- Note that different mods may require different versions, only one version can be installed, meaning mods may not
be compatible. - Mod authors are advised to have a clear version requirement and to watch out for updates.
- Note that different mods may require different versions, only one version can be installed, meaning mods may not
-
Extract or Open the archive with your favorite archiving tool.
Archiving tool examples:- Win10+ build in
- Inside the Extracted or Opened Archive should be a single folder. Usually called MscModApi (<version>)
Open that folder.
.
- Inside that folder should be 2 files and 1 folder (with more files in it).
- folder.
- (depending on how your Windows is setup, you will not see the extension .dll).
- (this is just a text file, not needed to use the mod).
- Open the folder for your game.
- Where that folder is, depends what you selected when you installed MscModLoader using the MSCPatcher
tool.
Possible locations are:
- Where that folder is, depends what you selected when you installed MscModLoader using the MSCPatcher
- COPY the folder AND the file into that Mods folder
- When asked if you would like to overwrite existing files, select Yes.
- Launch the game and the Mod should be running.
Mod Authors
The best way to use MscModApi while developing a mod is to clone the entire repository.
This will guarantee that your IDE (Visual Studio) can «look» into the code of the MscModApi.

- Clone the repository to a folder of your choosing.
- Open your IDE and open the .svn file located in the Source code folder.
- Select the Debug Profile in the top bar
- Press CTRL + SHIFT + B
It’s possible that references are missing. Make sure to add those. They are all located inside your games *
mysummercar_Data\Managed* folder.to compile the source
- Navigate to <location of the cloned MscModApi folder>/Source code/MscModApi/bin/Debug
- Copy the & file into your games folder.
- run the file that should be located inside that folder (See MscModLoader documentation, this is general
mod dev information). - Inside your mod, add a new reference pointing to that file
(similar to how you did earlier for files like Assembly-CSharp and such) - Happy developing.